October Halloween Crafts
October Halloween Crafts you can make with the whole family!
Spooky season is just around the corner and what better way to get the little ones excited and the house all prepared than sitting down and creating some Halloween decorations.

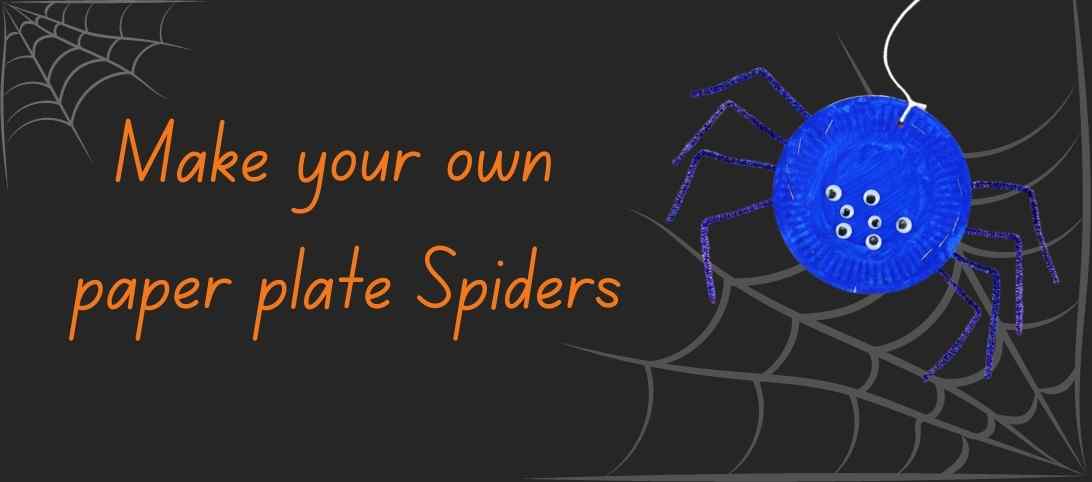
Spider Paper Plates
Get yourself all tangled in a web with these easy-to-create hanging spider decorations!
What you will need:
- Paper Plates (2 per spider)
- Paint (colour of your choice)
- Googly eyes (variety of sizes)
- Pipe cleaners (colours to match your paint or just black)
- Paint brush
- Scissors
- Stapler
- Glue
- String
How to create your spiders:
- First we need to paint two paper plates the colour we want our spider to be! You can add patterns and as many colours as you like to your design. Remember to paint the back of the plates only (the side that goes out) as these are the sides that will be on show.
- Once the paint has dried it's time to glue your spiders eyes! You can add as many as you like but we recommend eight to keep it simple. Feel free too add as many sizes as your like and any extra features you might want to.
- Next we need to attach the two plates together to form the body of our spider. Make sure the painted bottom sides are facing outwards. Once lined up use a stapler to connect them securely.
- Then finally we need to grab our fuzzy pipe cleaners. You can then push these through the gaps between the two plates and staples to secure them. Once in place bend the legs to make them look more like our eight legged friends we find around the house.
- Next we need to add our string so you can hang your new friends! Using your scissors poke a hole through the top of your spider. Tie your string through the hole.
AND there you have it. Your very own Spider Paper Plate craft.

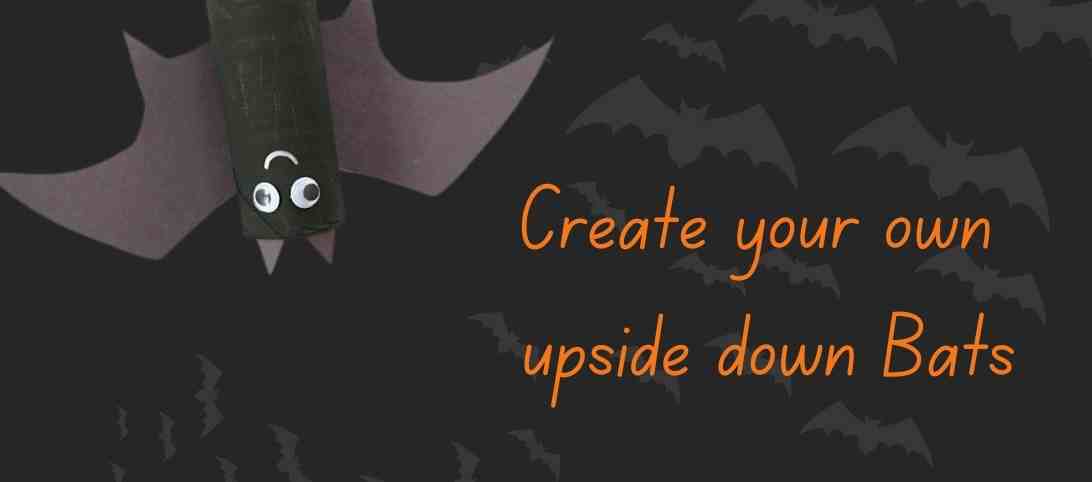
Upside Down Bats
How about creating some friends with wings to dot around the house?
What you will need:
- Toilet roll tube
- Black Paper (Or white but be prepared to colour!)
- Black Pipe Cleaners
- Scissors
- Glue
- Googly Eyes
- Black Paint
- Paintbrush
- White marker
- Hole Punch
How to create your own Bats:
- First, we need to paint the body of our bat. Grab your toilet roll tube, black paint and your paintbrush. Make sure you thoroughly cover all the tube and allow it to stand and dry.
- While your bat is drying, let's focus on making the wings. Fold your paper in half and draw one wing. Make sure the side that will attach the body is where the fold of your paper is. When you have drawn your wings, grab your scissors and cut out your shape. When you unfold your paper you will have identical wings!
- Once your paint is dry, glue your wings to your tube. Your bat now has wings!
- From the same piece of paper you can then cut two little triangles. These will be their ears. Once cut glue to the top of your bat. We recommend glueing on the inside for a cleaner look but it doesn't matter overall.
- Next we need to make them a face, Add your googly eyes and using a white pen add any other facial features you might like.
- Using your hole punch, add two holes at the back/ bottom of your tube. These will be where you add their legs.
- Grab your pipe cleaner and cut it in half. Add one half through the first hole and twist to ensure it remains secure. Do the same on the other half.
- There you have it! Now to get your bat to hang upside down twist the pipe cleaner around any object you wish for it to hang from.

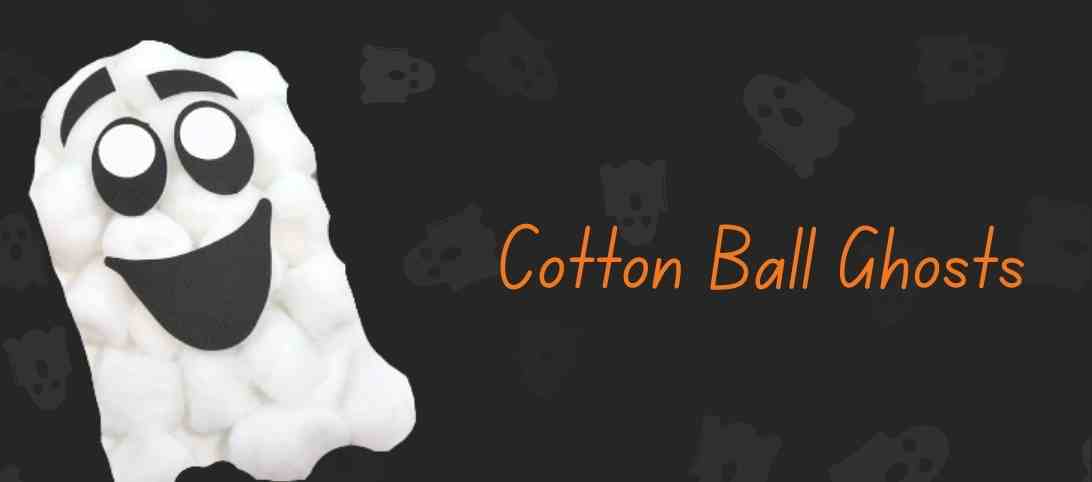
Cotton Ball Ghosts!
Make your own spooky friends to hang around the house!
What you will need:
- Cotton Balls
- White Card
- Black sharpie
- Scissors Glue
How to make your own ghost!
- Draw an outline of a ghost on half of your card. Once you have your shape use your scissors to cut out your shape. Now you can use this shape as a template and draw around it to make multiple ghosts or you can draw a different shape each time.
- Once you have your shape cut out. Lay it flat on the table. Grab your glue and time to cover it with glue! This can get messy so make sure you protect your table.
- Once the shape is covered with glue, grab your cotton balls and start squishing them onto your shape to ensure they stick!
- Now while you wait for your glue to dry. Grab the other half of your card and draw some eyes, mouth and any other features you wish to add. Cut them out with your scissors and add a small amount of glue to the make and press them onto your ghost to ensure they stick.
And there you have it! Your very own ghosts to decorate your house.
These are just a few of the crafts you can make this Halloween. Make sure you tag @Supercamps in any of your makes on social media and enjoy the spooky season!
If you’re looking for holiday childcare to maximise your child’s fun and creativity this half-term, find an October half-term camp near you.


-Left.gif)
-Right_1.gif)

 (1).png)
.png)